1. Inspect the Connection: Start by verifying that the microphone is correctly connected to the recording equipment. Ensure that the connection is secure and free of any loose connections. If you identify any damaged or loose cables, replace or reattach them appropriately.
2. Power Source Replacement: Check the power source for the microphone. If it relies on batteries, consider replacing them with new ones. For microphones connected through a power cable, carefully examine the cable for any issues and try substituting it with a different one.
3. Adjust Microphone Placement: Relocate the microphone to a more suitable position, one that minimizes the risk of external noise interference.
4. Implement Noise-Reduction Equipment: In situations where environmental noise is particularly prominent, consider the use of noise-reduction equipment to effectively diminish unwanted interference.
5. Microphone Replacement: In cases where the microphone itself is identified as faulty and beyond repair, the best course of action is to replace it with a new surveillance microphone.
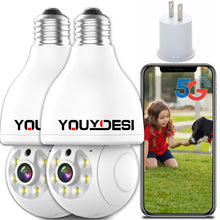
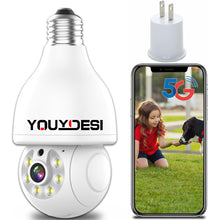
By implementing these measures, you can successfully address and eliminate noise issues within your surveillance microphone, thereby enhancing the performance of your indoor/outdoor home security system, which may incorporate the Smart 360-Degree Rotating Light bulb Camera.


